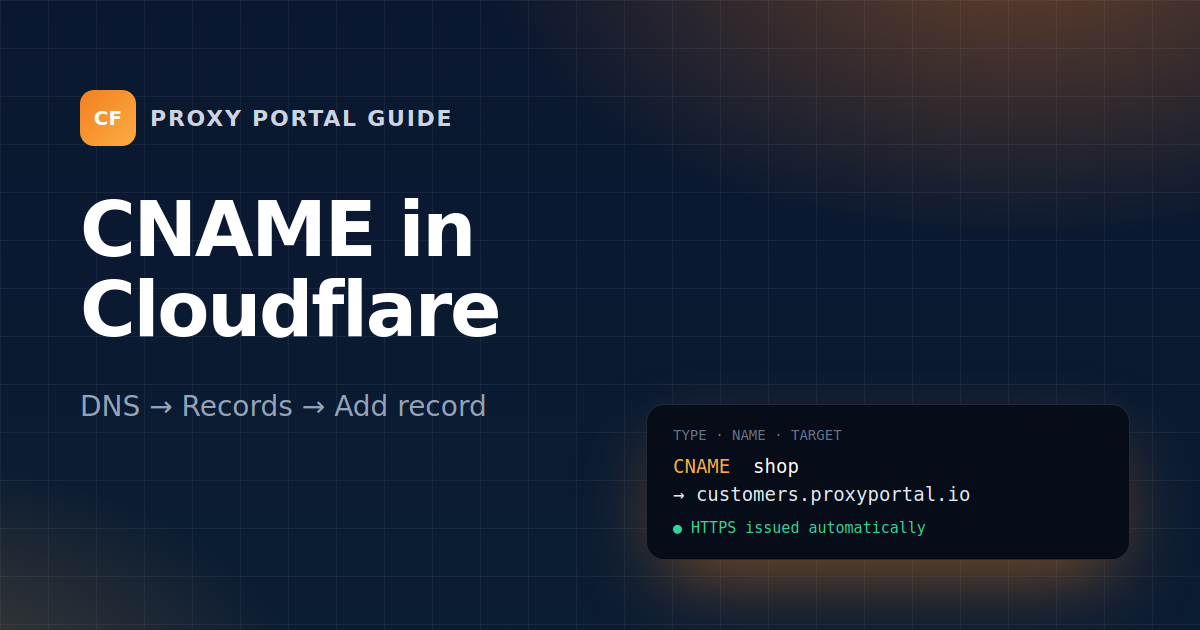
If your domain's nameservers end in ns.cloudflare.com, your DNS is at Cloudflare. Here's the exact record for your store. New to this? Read the overview first.
1. Open the DNS records
- Log in at dash.cloudflare.com.
- Click your domain (for example
yourbrand.com). - In the left menu open DNS → Records.
2. Add the record
Click Add record and fill it in:
- Type: CNAME
- Name:
shop(the part before your domain) - Target:
customers.proxyportal.io - Proxy status: DNS only (grey cloud), recommended
- TTL: Auto
Press Save. Cloudflare shows shop.yourbrand.com is an alias of customers.proxyportal.io, which means it's right.
If a record called shop already exists, edit it instead. Cloudflare doesn't allow two records with the same name when one of them is a CNAME.
Grey cloud or orange cloud?
- DNS only (grey): the simplest. Visitors connect straight to your store, and we handle HTTPS for you.
- Proxied (orange): works too, with Cloudflare's CDN in front. Then go to SSL/TLS → Overview and choose Full. With Flexible, browsers get stuck in a redirect loop. The merchant panel shows a note while it checks that Cloudflare reaches your store; that's expected.
Using the bare domain
Cloudflare allows a CNAME on the root (@), thanks to CNAME flattening. Set Name to @ and connect yourbrand.com in the panel. Remove the existing A/AAAA records for @ first. Your email (MX) records are not affected.
3. Connect it in the panel
Go to Storefront → Domain in the merchant panel, enter shop.yourbrand.com and press Use this domain. With Cloudflare it's usually live within two minutes.
Don't touch your proxy hostname
Your proxy hostname (like proxy.yourbrand.com) must stay DNS only: Cloudflare's proxy only carries web traffic, not proxy connections. Keep it as a separate record.