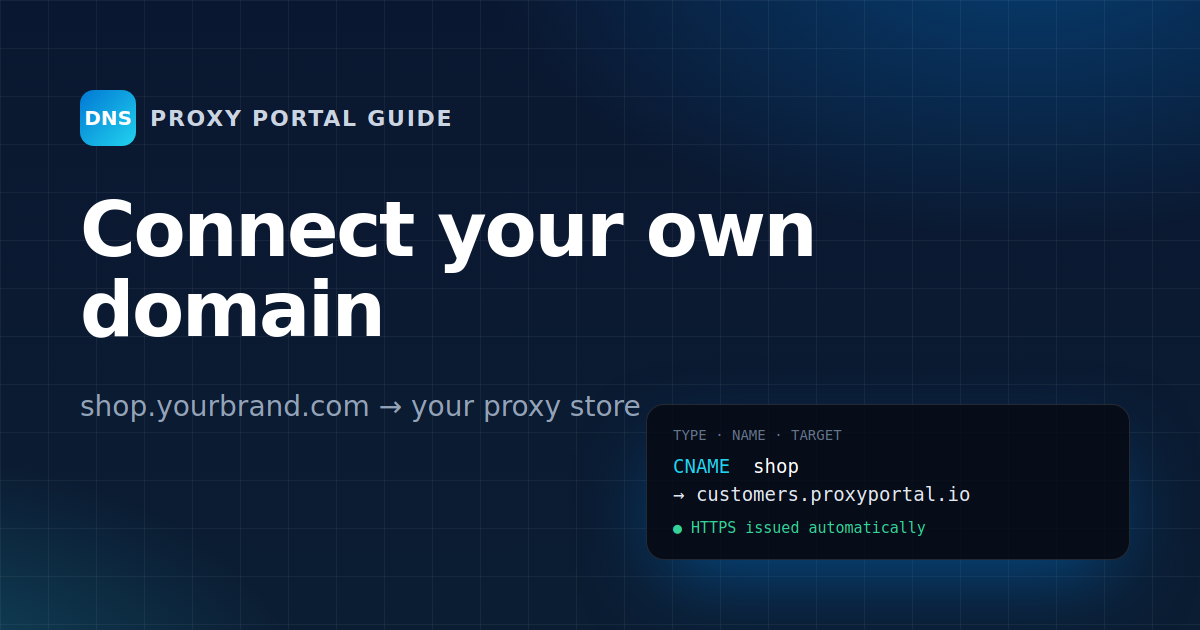
Your store already runs at yourname.proxyportal.io. With your own domain it runs at an address like shop.yourbrand.com instead: your brand in the address bar, your links in search results, and nothing that says Proxy Portal. It takes one DNS record and about five minutes.
What you need
- A domain you own, for example
yourbrand.com. - Access to the place that runs its DNS. That's usually where you bought the domain (GoDaddy, Namecheap…) or Cloudflare if you moved it there.
- The Proxy Portal merchant panel open at Storefront → Domain.
Step 1: pick the address
Use a subdomain: shop.yourbrand.com, www.yourbrand.com or proxies.yourbrand.com.
The bare domain (yourbrand.com with nothing in front) works only on providers that allow a CNAME there. Cloudflare does (it calls this CNAME flattening); most others don't. If you want the bare domain, point it at your store from your provider's "redirect" or "forwarding" setting to www.yourbrand.com, and connect www here.
Don't use your proxy hostname (the one your customers put in their tools, like proxy.yourbrand.com). Proxies and the store need separate records.
Step 2: find where your DNS is
Your DNS is managed wherever your domain's nameservers point. Look them up with any "NS lookup" website, or in a terminal:
dig NS yourbrand.com +short
*.ns.cloudflare.com→ Cloudflare guide*.domaincontrol.com→ GoDaddy guidedns*.registrar-servers.com→ Namecheap guide- Anything else → the steps below work everywhere; the menu names differ a little.
Step 3: add the CNAME record
Add one record:
-
Type: CNAME
-
Name / Host:
shop -
Target / Value / Points to:
customers.proxyportal.io -
TTL: Auto (or 1 hour)
-
In Name, most providers want only the part before your domain:
shop, notshop.yourbrand.com. If the provider shows your domain next to the box, type onlyshop. -
If a record with the same name already exists (A, AAAA or CNAME), delete or edit it first. A name can have only one CNAME and nothing else.
-
Some providers add a dot at the end (
customers.proxyportal.io.). That's normal.
Step 4: tell us the domain
In the merchant panel go to Storefront → Domain, type shop.yourbrand.com and press Use this domain. (During sign-up you can type it on the last step instead.)
Step 5: wait for "live"
- DNS usually updates in 2 to 10 minutes, rarely up to 24 hours.
- As soon as the record is right, we issue a free HTTPS certificate (Let's Encrypt) automatically, about a minute later.
- The status changes from setting up to live. Press Check now to refresh it.
Your old yourname.proxyportal.io address keeps working too, so links you already shared don't break.
Troubleshooting
The status line in the panel tells you what is wrong:
- Panel says doesn't resolve yet: The record isn't visible yet. Wait 10 minutes. Check the name is
shop(notshop.yourbrand.com.yourbrand.com) and that you added it where your nameservers point. - Panel says it points to 1.2.3.4, not to customers.proxyportal.io: Another record with the same name wins. Delete the old A/AAAA record and keep only the CNAME.
- Panel says behind Cloudflare's proxy (orange cloud): That works, but set SSL/TLS → Overview → Full. Or switch the record to DNS only (grey cloud), which is the simplest.
- Panel says this name is set up as a proxy hostname: You used your proxy hostname. Pick another name such as
shop.orwww.. - Stuck on the certificate for over an hour: If your domain has CAA records, add one that allows
letsencrypt.org.
Still stuck? Write to us from the merchant panel with your domain name and a screenshot of the DNS record.