If your nameservers are Namecheap BasicDNS (they look like dns1.registrar-servers.com), add the record in Namecheap. New to this? Read the overview first.
1. Open Advanced DNS
- Log in at namecheap.com and open Domain List.
- Click Manage next to your domain.
- Open the Advanced DNS tab.
If you don't see a "Host Records" section, your domain uses other nameservers (shown on the Domain tab). Add the record there instead.
2. Add the record
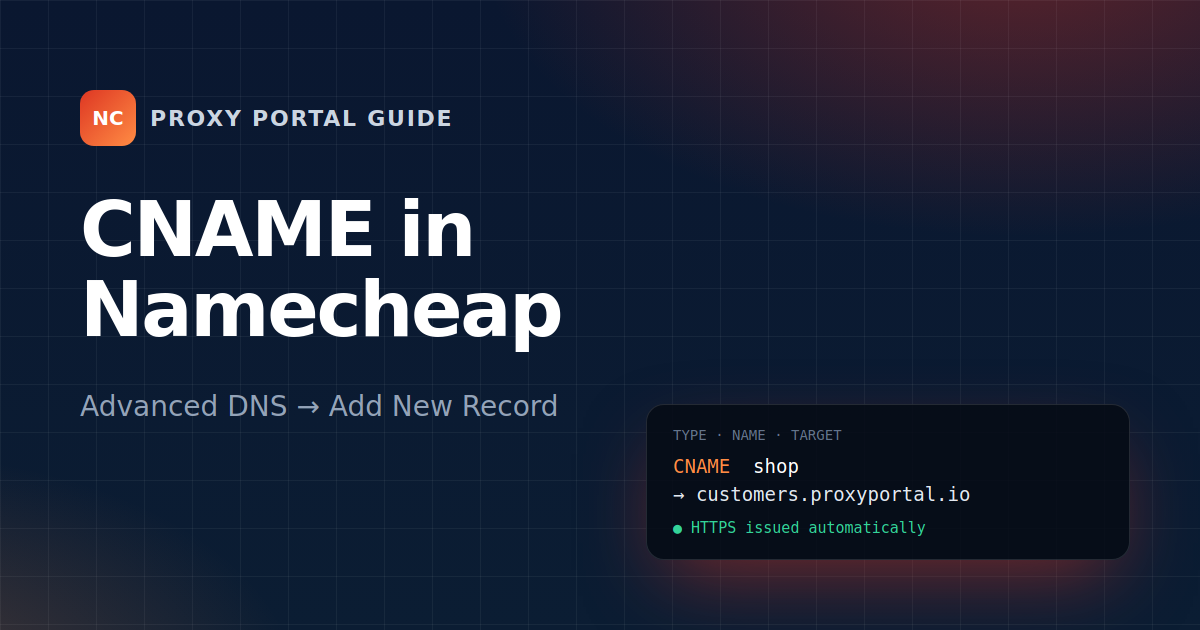
Under Host Records click Add New Record, choose CNAME Record and fill it in:
- Type: CNAME Record
- Host:
shop - Value:
customers.proxyportal.io - TTL: Automatic
Click the green check mark to save. Easy to miss: without it nothing is saved.
Remove the parking records
New Namecheap domains come with a URL Redirect Record or a CNAME www → parkingpage.namecheap.com. If you're connecting www, delete the parking record first, then add yours.
The bare domain
Namecheap doesn't allow a CNAME on @. Connect www.yourbrand.com, then add a URL Redirect Record for @ pointing to https://www.yourbrand.com (Permanent 301).
3. Connect it in the panel
Go to Storefront → Domain in the merchant panel, enter shop.yourbrand.com and press Use this domain. Namecheap usually takes 5 to 30 minutes; HTTPS is issued automatically right after.
Checking it yourself
dig CNAME shop.yourbrand.com +short
It should print customers.proxyportal.io.. If it prints nothing, wait a few more minutes or check the Host field.